
RETECHNOLOGY PREMIUM MARKETPLACE RELATED PRODUCTS | WEBINARS | SPECIAL OFFERS


You are viewing our site as an Agent, Switch Your View:
Agent | Broker Reset Filters to Default Back to ListA/B Testing 103: The 6 Steps of Testing
October 23 2013
This is the final article in a series of three on A/B testing for your website. Read Part One and Part Two.
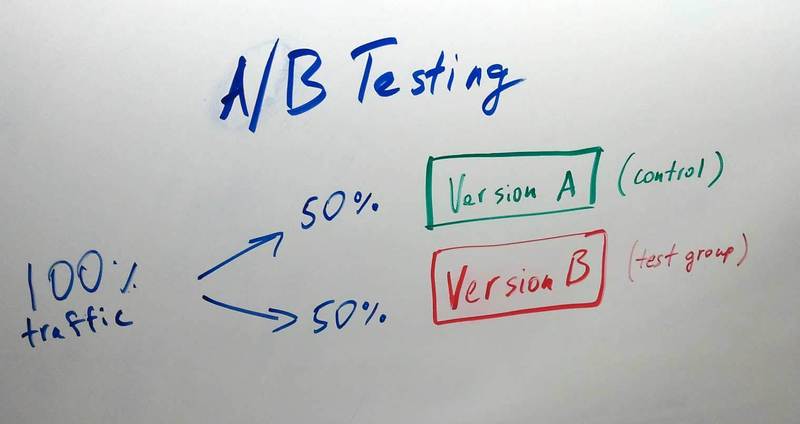 AB testing 101 was an introduction to the concept of testing. AB testing 102 focused on which colors are proven to generate leads. In AB testing 103, we are going to get into how the process of testing works and what you need to consider before you create a test, how you set up the test, and the correct method for determining a winner.
Step 1: Ask a Question
Do you ever wonder if changing the background colour on your website will increase the amount of suspects that stay on your website and turn into a lead? Or if placing the contact form below a listing rather than on the side of a listing will actually increase the amount of suspects that submit their information to you? The first step to doing any experiment is figure out the question that you want to be answered.
Step 2: Do Some Research
Look at A/B testing blogs like unbounce to see if your question has already been answered. It is important to do this research because it will give you an idea of what you should expect to see in your test results. Even if you find that it has, you should always conduct a test for yourself. Each situation is unique and you cannot assume that you will see the same results as others have.
Step 3: Make an Educated Guess
Based on the research you do and the question you ask, you should make an educated guess as to what will increase the amount of leads your website generates. If you think changing the colour of your submit button will increase the amount of visitors that fill out a contact form and your research indicates that red is the best colour to choose for lead capture forms, then guessing that changing the colour of the button on your form to red will help increase the amount of leads your website generates makes a lot of sense.
Step 4: Test your Guess
Set up an experiment in Google Analytics. For more information on how to do this, click here. Google Analytics Experiments makes it easy for you to setup and conduct experiments. You will need to add some code to the site but you don't need to be a web developer to do it since it is very simple to cut and paste the code they give into the right section of your page.
Step 5: Gather the Data
You need to focus on one data point per experiment--the bounce rate, amount of conversions, etc. Have a clearly defined goal, such as I want to decrease the bounce rate of my homepage or increase the amount of lead capture forms that are filled. Once you have a clear number that you are striving to improve and set up the experiment in Google Analytics, you will be able to go ahead and accurately gather data to see if your educated guess is actually improving your numbers.
Step 6: Find the Winner and Take Action
So you run your experiment for a week and you find that the red submit button on your lead capture form has gotten 10 more leads for you over the past week than the green submit button. Go ahead and change the colour of the button for good. Then start thinking of your next experiment.
To view the original article, visit the WebsiteBox blog.